Picture this: you pull the shower curtain aside and are greeted by a modern, glass‑walled oasis that makes every morning feel like a spa retreat. That’s the payoff of swapping a tired tub for a sleek shower, and it’s a change homeowners in Payson are raving about.
Beyond the obvious boost in style, a tub‑to‑shower flip frees up valuable floor space, cuts down on water use, and can even bump up your home’s resale value. And the good news? You don’t need a contractor’s PhD to pull it off—just a clear plan and a few smart choices.
Ready to walk through each step, from demolition to the final polish, so you can start enjoying that fresh‑water feel sooner rather than later? Keep reading and we’ll lay out the exact roadmap you need.
Assessing Your Space & Setting a Budget
Measure Twice, Cut Once
Start by pulling out a tape measure and sketching the bathtub footprint on graph paper. Note the distance to doors, windows, and any built‑in cabinets—those are the hard limits you can’t move.
Check the floor’s slope and the height of the existing plumbing stub. If the drain sits too low, you’ll need a new shower pan or a raised base. These details dictate the shower style you can actually install.
Budget Blueprint
Next, line up the numbers before you order any tiles. Break the project into three buckets: materials, labor, and contingency.
- Materials: shower base, wall panels, glass doors, fixtures, grout.
- Labor: demolition, plumbing reroute, waterproofing, finish work.
- Contingency: 10‑15% for surprise issues like hidden rot or code upgrades.
In Payson, a mid‑range conversion runs between $6,000 and $9,000. Luxury options can push past $12,000. Set a hard ceiling, then work backward to see where you can trim or splurge.
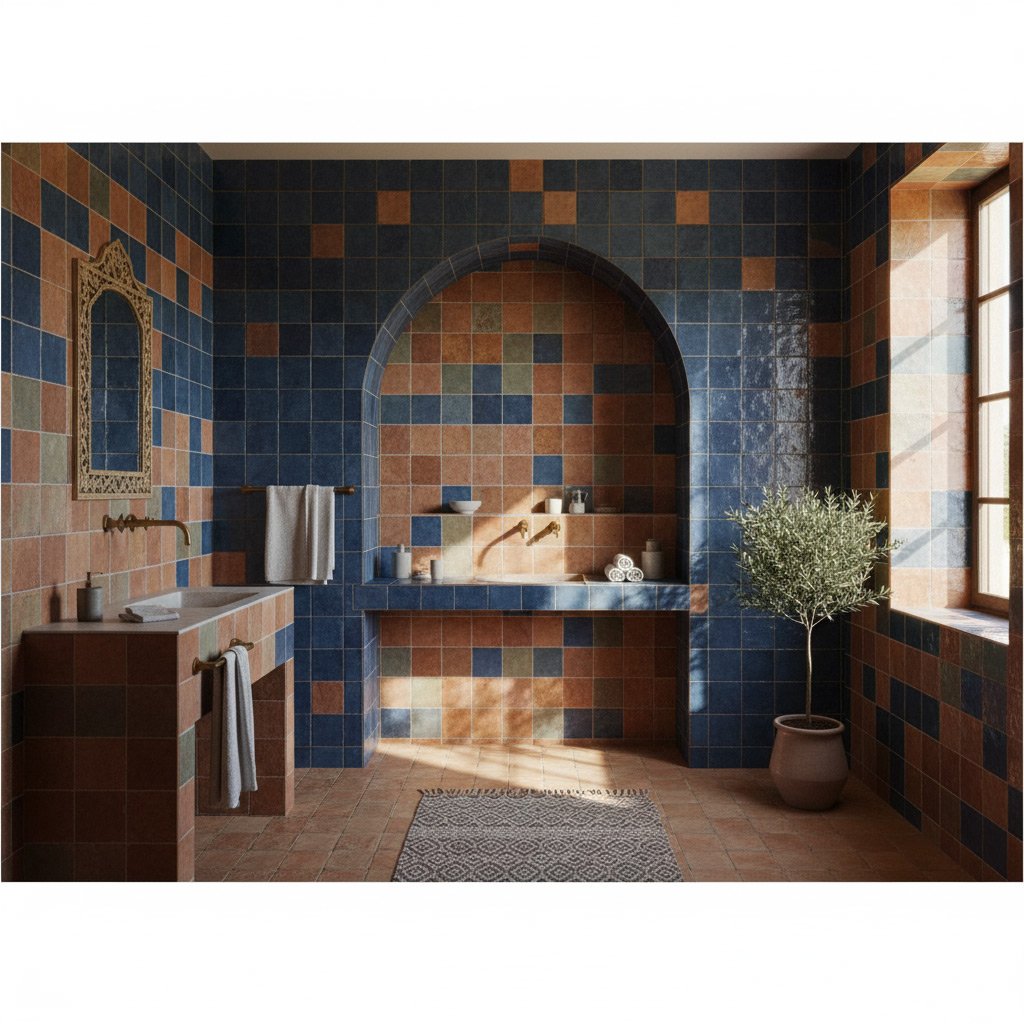
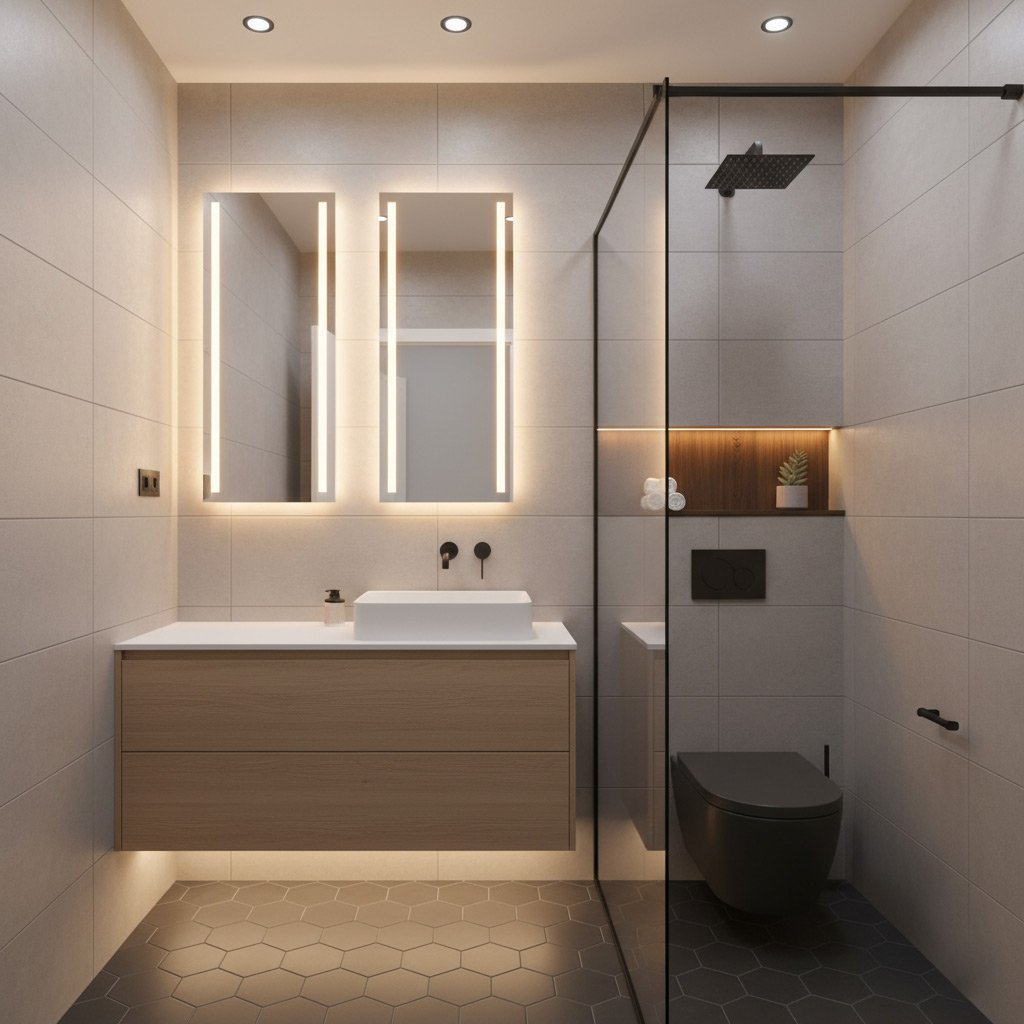
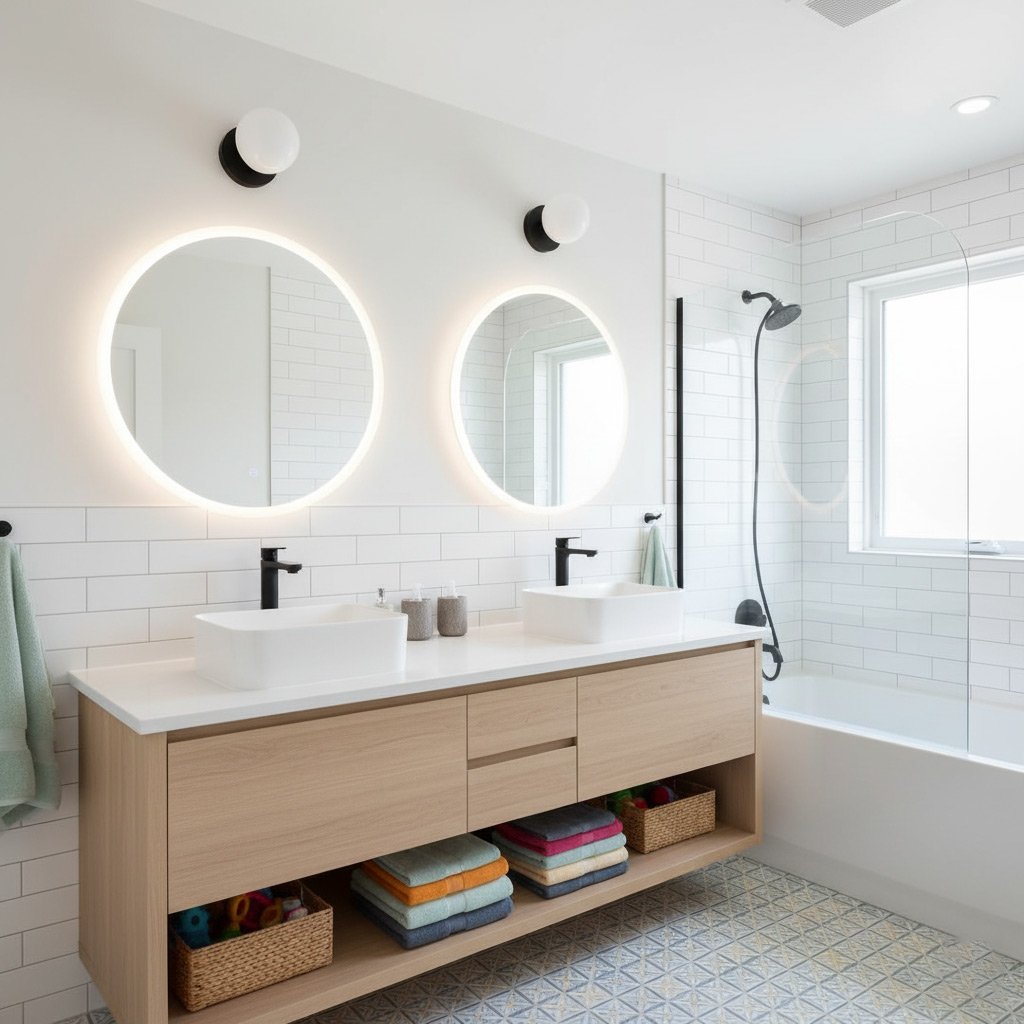
Selecting the Ideal Shower Style & Materials for Payson Homes
Shower Styles That Fit Payson Aesthetics
Think about the vibe you want: sleek glass panels, classic tile surrounds, or a walk‑in curbless design that feels like a spa. Each style can be tailored to the size of your bathroom and the look of your home.
- Frameless glass enclosure – maximizes light, makes the space feel larger.
- Tile‑backed walls – endless patterns, easy to match existing décor.
- Curbless walk‑in – perfect for accessibility and a modern feel.
Materials That Stand Up to Arizona Heat
Choose surfaces that won’t crack under the desert sun and can handle daily use. Durability matters more than a trendy finish that fades after a few seasons.
- Porcelain tile – dense, low‑porosity, resists stains.
- Natural stone (e.g., travertine) – adds warmth, but seal it well.
- Solid surface panels – quick install, consistent color.
Balance cost and longevity by sourcing from local suppliers who know Payson’s climate quirks. A smart material choice saves you time, money, and headaches down the road.
Securing Permits and Planning Plumbing Re‑routing
Know Your Local Requirements
Before you swing a hammer, check Payson’s building department for the exact permits you’ll need. A plumbing permit is non‑negotiable, and a structural alteration permit may apply if you’re moving walls.
- Building permit – covers any changes to the bathroom footprint.
- Plumbing permit – required for new drain lines or vent adjustments.
- Electrical permit – if you’re adding lighting or a new exhaust fan.
Map the New Drain Path
Re‑routing the drain is the trickiest part, but a clear plan saves headaches later. Sketch a simple diagram showing the existing waste line and where the new shower base will sit.
- Identify the nearest main stack – shortest run reduces pipe length.
- Plan for a proper slope (¼ inch per foot) to keep water moving.
- Include a clean‑out access point for future maintenance.
Stay on the Right Side of Inspections
Once you’ve filed the paperwork, schedule the required inspections before you cover anything up. The inspector will verify pipe sizing, slope, and that the waterproof membrane meets code.
- Pre‑rough‑in inspection – confirms pipe layout before walls close.
- Final plumbing inspection – signs off after the shower base is set.
- Keep copies of all permits and inspection reports for future resale.
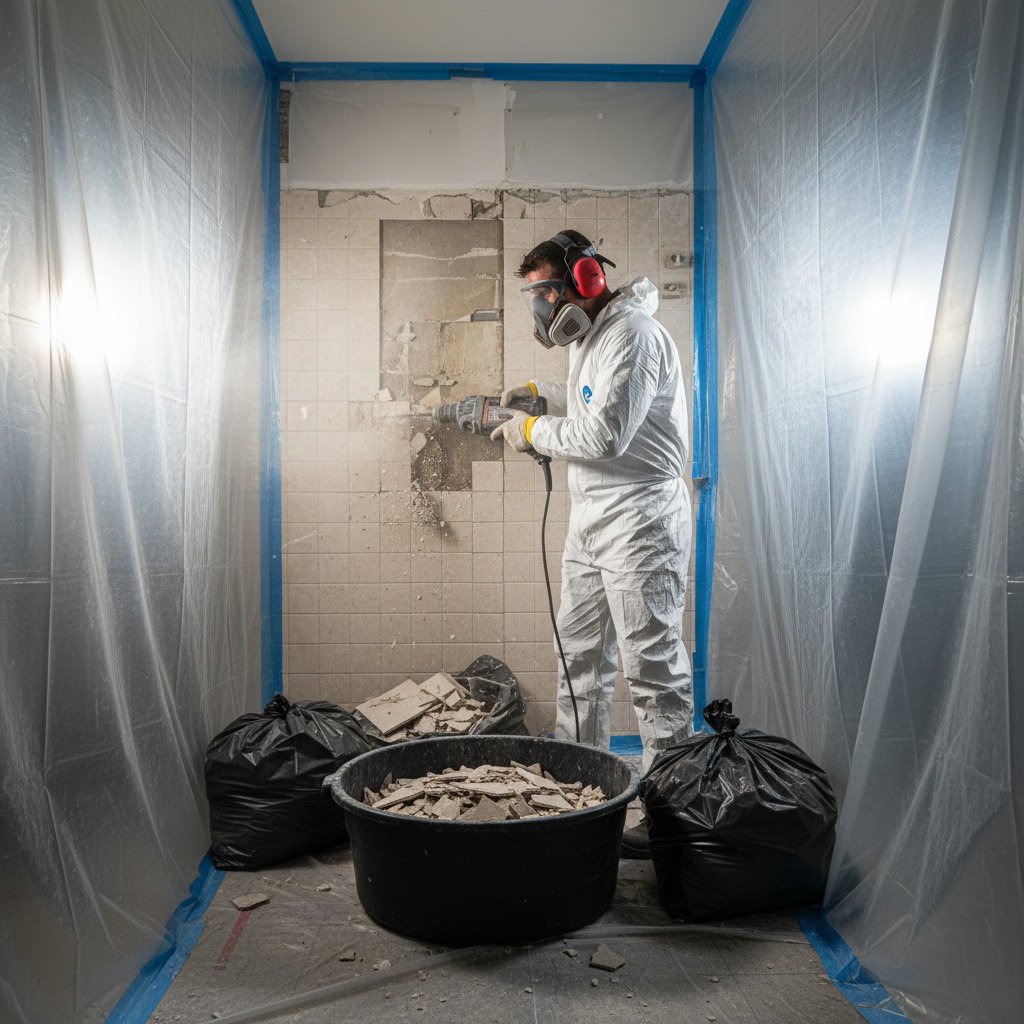
Demolition, Prep, and Waterproofing Essentials
Clear the Way
First, strip out the old tub, faucet, and any surrounding tile. Turn off the water at the main valve and disconnect the supply lines before you start pulling anything apart.
Once the tub is out, you’ll see the subfloor and framing. Take a quick look for rot or water damage—any compromised wood needs to be replaced now, not later.
- Remove all grout and caulk with a rotary tool.
- Pull out the tub’s mounting brackets and any leftover plumbing.
- Dispose of debris in a heavy‑duty trash bag to keep the work area tidy.
Prep the Surface
With the space cleared, give the subfloor a solid cleaning. Sweep away dust, vacuum the cracks, and wipe down any lingering soap scum with a mild detergent.
Inspect the joists for levelness; a shim here or there can save you headaches when the shower base sits down.
- Patch small holes with a cement‑based filler.
- Lay down a vapor barrier if the floor is concrete.
- Mark the exact location of new drain and supply lines.
Waterproofing Must‑Do’s
Now comes the part that keeps future leaks at bay. Apply a liquid waterproofing membrane over the entire floor and up the walls at least 6 inches.
Let it cure according to the manufacturer’s timeline—usually 24 hours—then double‑check for any missed spots before you move on to the shower base.
- Use a reinforcing fabric mesh in corners for extra strength.
- Seal around the drain with a pre‑formed waterproof ring.
- Test the surface with a water bucket; no seepage means you’re good to go.
Installing the Shower Base, Walls, and Fixtures
Lay Down the Base
Start with a clean, level floor. Mortar‑set a pre‑sloped shower pan or a solid acrylic base to direct water toward the drain. Check the slope with a level—1/4 inch per foot is the sweet spot.
- Apply a waterproof membrane under the pan.
- Seal all edges with silicone before the next step.
Build the Walls
Choose between tile, stone, or a prefabricated wall system. Back‑board the studs with cement board, then tape and mud the seams. Keep the joints tight; any gap invites leaks.
- Use a waterproofing sealant on every corner.
- Install a vapor barrier behind tile for extra protection.
Hook Up the Fixtures
Position the shower valve so the controls are comfortable from inside the enclosure. Connect the supply lines with copper or PEX, then test for pressure before sealing the trim.
- Mount the showerhead at a height that works for all family members.
- Finish with a sleek glass door or a simple curtain rod—your call.
Real‑World Success: A Payson Tub‑to‑Shower Conversion Case Study
Project Overview
When the Martinez family moved into their 1970s ranch in Payson, the aging claw‑foot tub felt like a relic. They wanted a sleek shower that wouldn’t eat up the limited bathroom square footage.
Our crew stepped in, mapped the space, and set a realistic budget of $7,800. The goal? A functional, spa‑like shower in under three weeks.
Key Decisions
Choosing the right style and materials made all the difference. The Martinezes opted for a frameless glass enclosure and a linear drain to keep the floor clear.
- Tile: Porcelain, 12×12, matte finish – low‑maintenance and perfect for Payson’s dry climate.
- Shower base: Pre‑sloped acrylic, ready‑to‑install, saved labor hours.
- Fixtures: Water‑saving rainhead and handheld combo, cut water use by 15%.
Outcome & ROI
Within ten days the old tub was gone, the new shower was waterproofed, tiled, and sparkling. The family reported a “spa‑day” feeling every morning.
Three months later, a local appraiser noted a $12,000 bump in resale value—more than the project cost. The Martinez’s now enjoy extra floor space, lower water bills, and a bathroom that feels brand new.
Final Words
Now that you’ve got the roadmap, it’s time to turn that vision into reality. A tub‑to‑shower flip isn’t just a facelift; it’s a practical upgrade that pays for itself in comfort and resale value. Take the first step today and watch the transformation unfold.
Quick‑Hit Checklist
- Confirm your budget and stick to it.
- Choose a shower style that matches Payson’s climate and your home’s vibe.
- Secure permits before any pipe work begins.
- Invest in proper waterproofing – it saves headaches later.
- Hire a licensed pro for plumbing reroute if you’re not 100% confident.
Remember, the right crew makes all the difference. Look for contractors with proven experience in Payson bathroom remodels and check their reviews. A solid team will keep the project on schedule and avoid costly surprises.
Ready to explore more? Dive into our full suite of services for Tub to Shower Conversions and see how we can help you achieve that spa‑like feel without the guesswork.
People Also Ask
How much does a tub‑to‑shower conversion typically cost in Payson, AZ?
Most conversions range from $3,500 to $7,500, depending on the shower style, materials, and any necessary plumbing changes. Adding premium tile or custom glass can push the price higher.
Do I need a building permit for a tub‑to‑shower flip in Payson?
Yes, Payson requires a permit for any work that alters plumbing or structural elements. Your contractor should submit the plans to the town’s Building Department before starting.
Can I keep the existing bathtub plumbing when converting to a shower?
Often the existing drain and water supply can be reused, but the location of the showerhead may require rerouting. A plumber will assess whether the current layout meets code and your design goals.
What waterproofing methods are best for a shower conversion?
Use a combination of a waterproof membrane, cement backer board, and sealed seams with a high‑quality silicone caulk. Proper waterproofing prevents leaks and protects the home’s framing.
How long does a typical tub‑to‑shower remodel take?
Most projects are completed in 1‑2 weeks, assuming no unexpected issues with plumbing or structural work. Scheduling demolition, waterproofing, and tile installation efficiently helps stay on track.
Payson Bathroom Remodel specializes in custom bathroom renovations, bringing over a decade of craftsmanship to homes throughout Payson, Arizona. Their team combines local knowledge with a commitment to quality workmanship, ensuring each project reflects the unique style and needs of the community.
Need Bathroom Remodel?
We restore functionality quickly and reliably, so you can resume daily life without delay. Serving Payson (85541, 85544) and nearby ZIP codes 85901, 85902, 85545.
Request Remodel Quote